Fluffy golden orbs gently bobbing in a sea of sizzling oil, their irresistible aroma filling the air like a siren song. This isn’t a scene from a fantasy novel, friend; it’s the magic of Akara, the legendary Nigerian black-eyed pea fritter (also known as Bean Cakes, Bean Balls, Bean Fritas) that promises crispy satisfaction with every bite. But don’t let its seemingly humble appearance fool you; mastering Akara takes a touch of skill and a whole lot of heart.
So, ditch the takeout menus and channel your inner culinary superhero. This guide will equip you with everything you need to conquer the fryer and whip up a batch of Akara so good, it’ll have your neighbors knocking on your door begging for the recipe. Buckle up, fry-curious friends, because we’re about to dive into the delicious world of Akara-making.
Ingredients
- Black-eyed peas or beans
- Onions
- Spices
- Salt to taste
- Oil for frying
Tools
- Blender or food processor
- Bowl
- Hand mixer or turning stick
- Spatula or spoon
- Fry pan
Steps
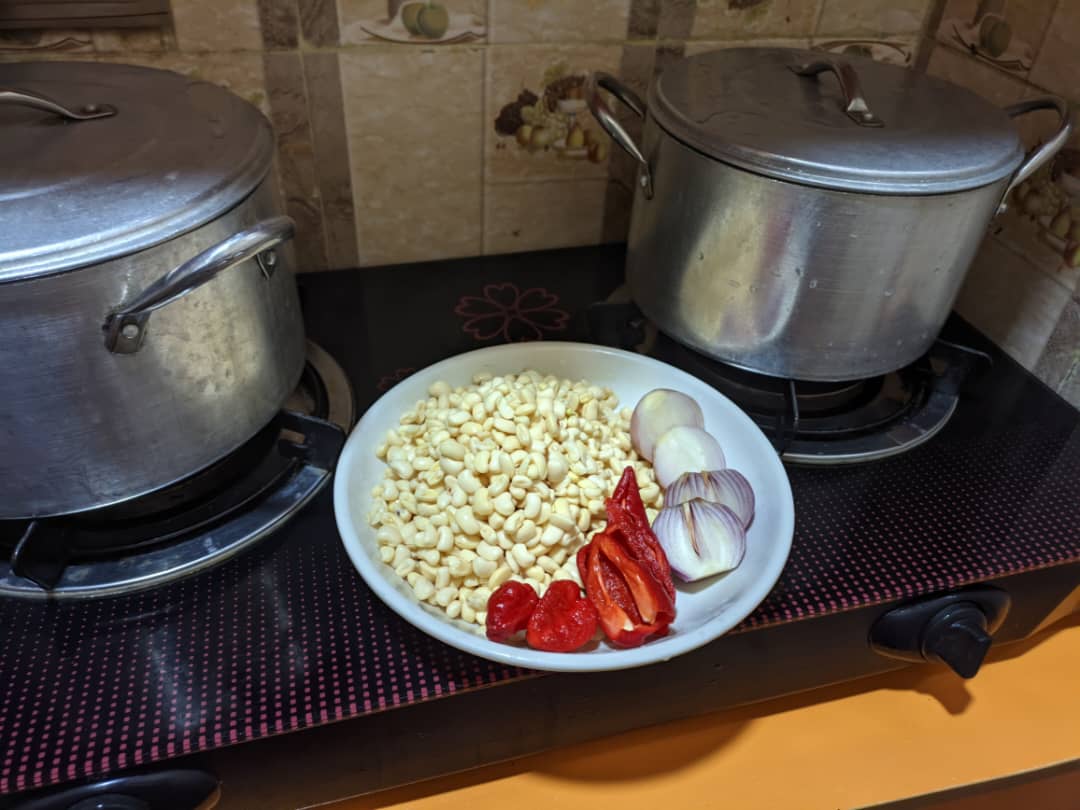
The Bean Brigade: Choosing Your Akara Champions
The foundation of any great Akara lies in the beans. Forget mushy canned options; we’re talking about dried black-eyed peas, plump and full of potential. These little powerhouses hold the key to achieving that perfect texture – fluffy on the inside, crispy on the outside. You can choose between white beans for a milder flavor or black beans for a deeper, earthier taste. The choice is yours, captain!
Soaking Secrets: The First Step to Akara Nirvana
Just like a superhero needs training, your beans need preparation. Soaking them in water is the crucial first step. Think of it as bean boot camp, toughening them up for the frying frenzy to come. Ensure you discard the soaking water – it’s full of unwanted starches that can make your Akara soggy.
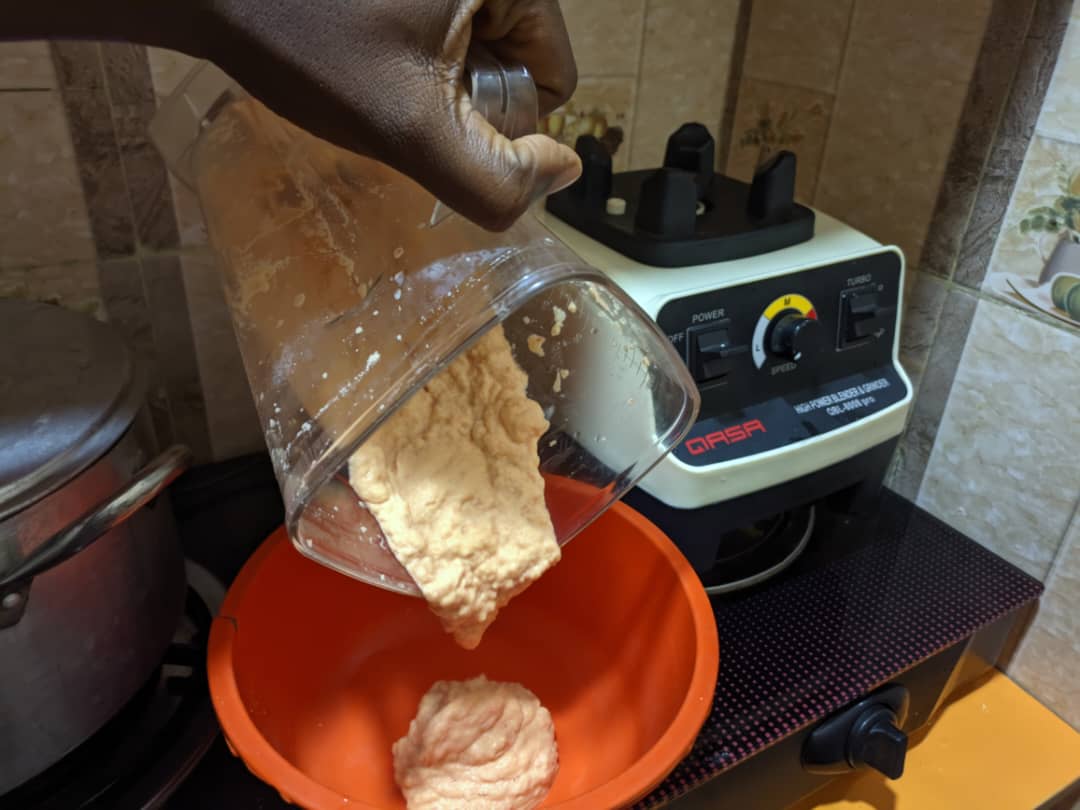
Blending Bliss: Mastering the Bean Mash
Now comes the fun part: blending! Grab your trusty blender or food processor and get ready to unleash your inner DJ. Pulse the beans in small batches, adding just enough water to create a smooth paste. Remember, texture is key; you want a thick batter, not a watery soup. Think of it as a velvety bean puree, ready to embrace its destiny as Akara.
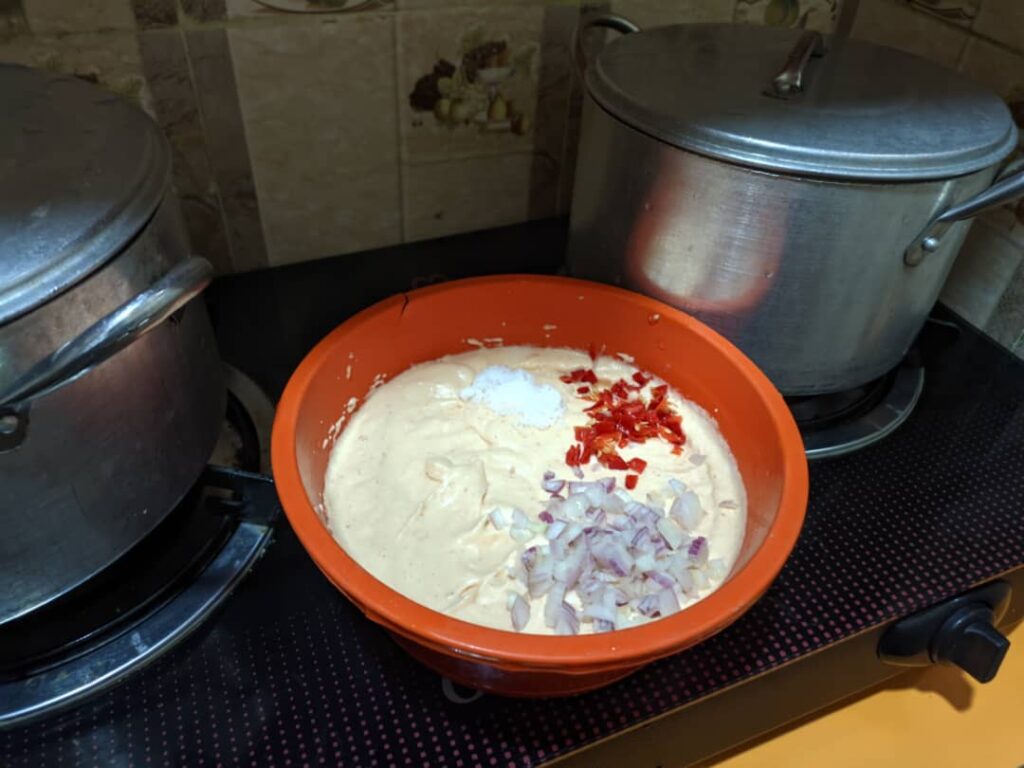
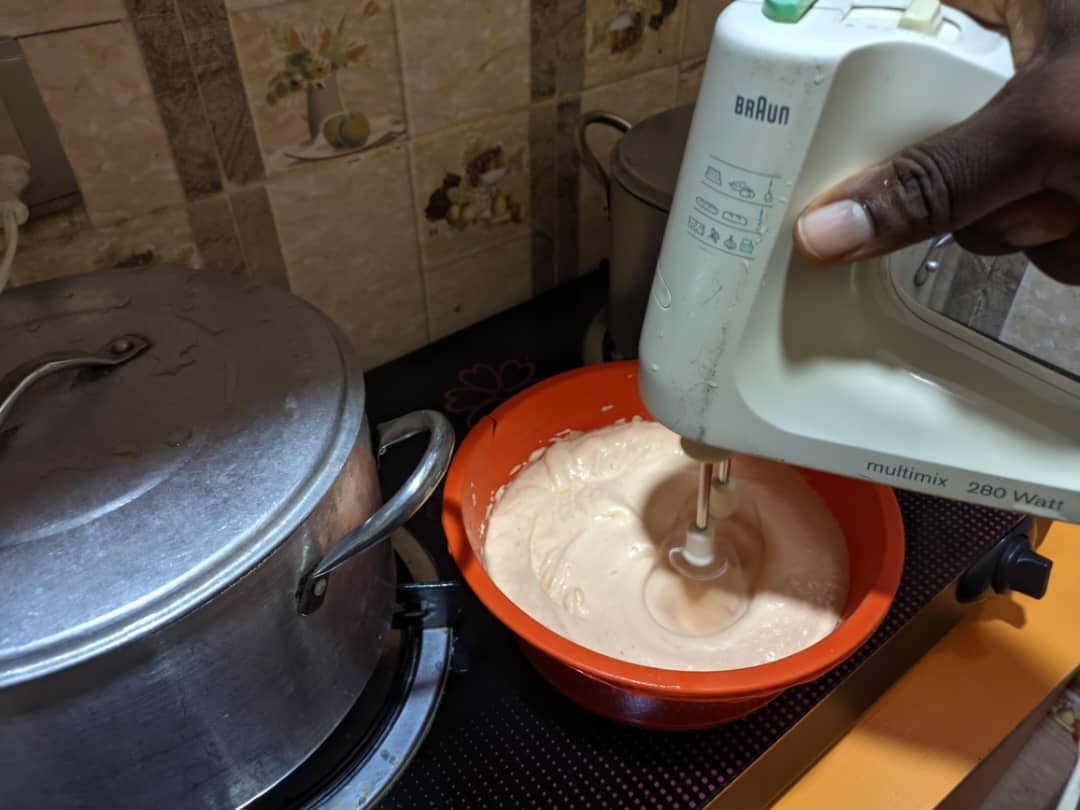
Seasoning Symphony: Adding the Flavorful Flourish
This is where you get to play conductor, orchestrating the flavor symphony of your Akara. Sprinkle in some salt– the classic rhythm section. You can also add a kick with some chopped onions or chili peppers or get adventurous with fresh herbs like parsley or cilantro. But don’t go overboard; let the bean melody shine through. Mix everything up with the help of a hand mixer or turning stick, keep mixing or stirring till the ground beans appears whiter and you can perceive its peculiar aroma.
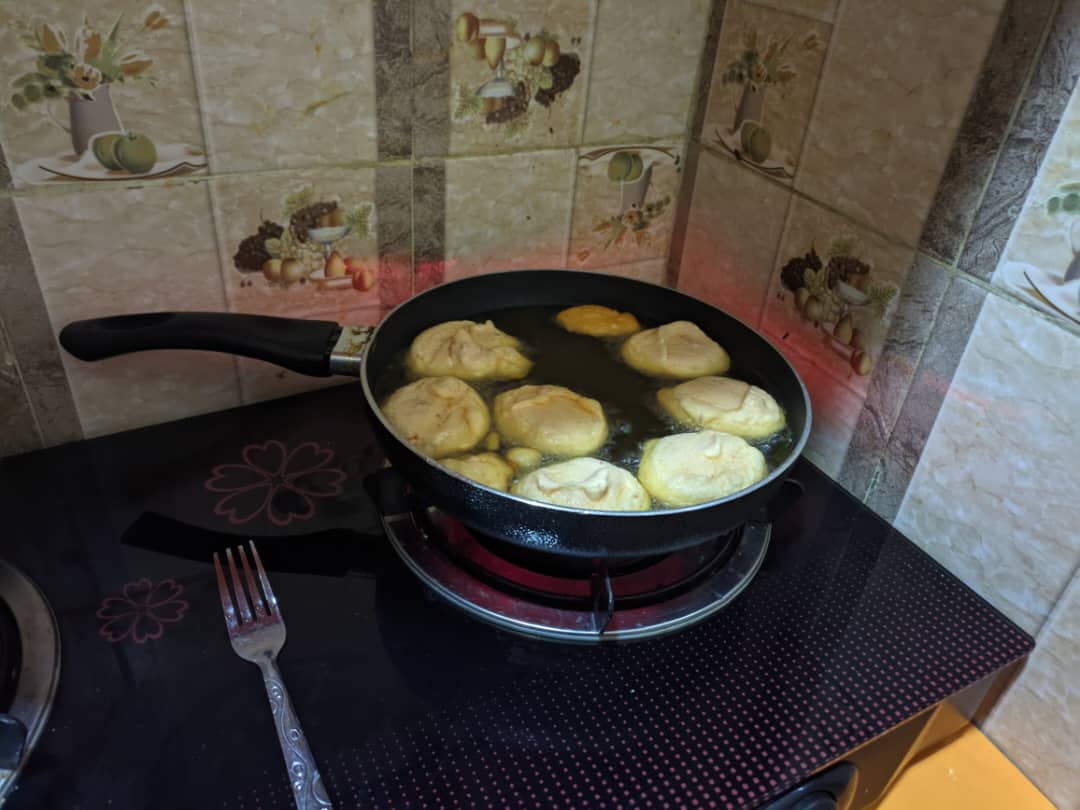
The Frying Fiesta: From Batter to Golden Goodness
Now, the moment of truth! Heat up your oil – vegetable oil is a good choice – to a medium-high temperature. You want it hot enough to sizzle when a drop of batter takes the plunge, but not so hot it burns before your Akara can form. Using a spoon, gently drop dollops of batter into the oil. Resist the urge to overcrowd the pan; give each fritter room to dance and puff up to its full golden glory.
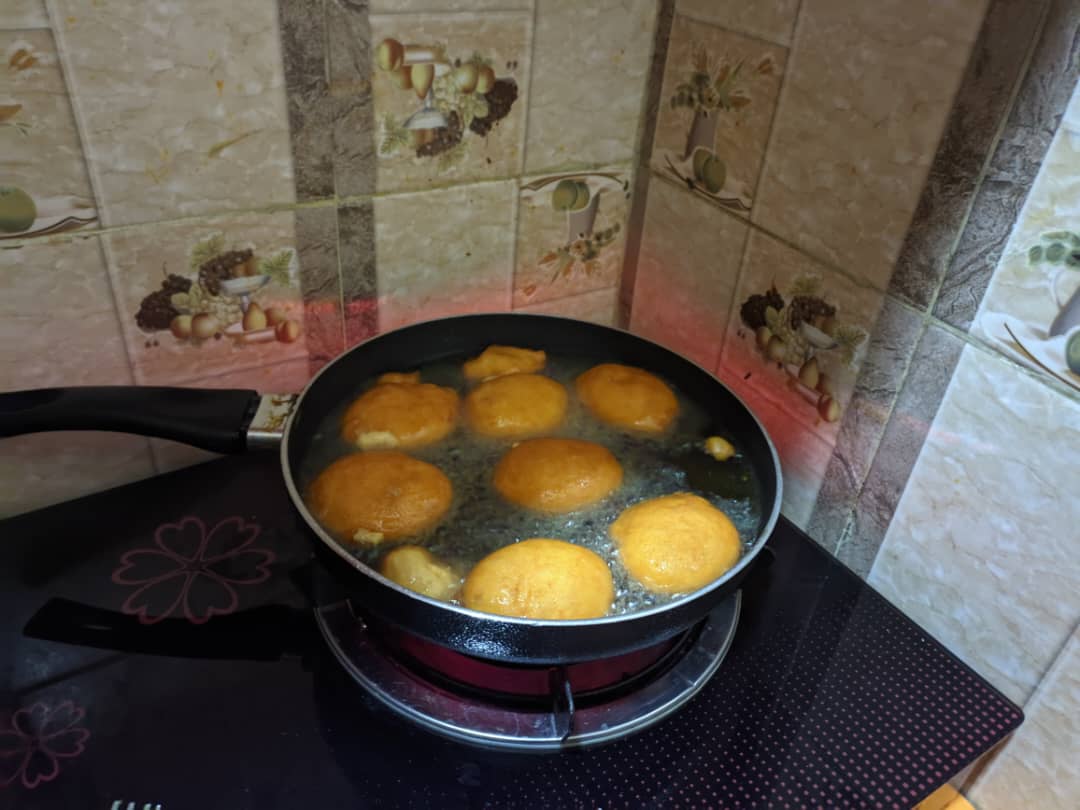
Flipping Fantastic: From Floppy to Fiery
After a couple of minutes, when the edges are golden brown, flip your Akara with a gentle spatula. Let the other side bask in the oil’s golden embrace for another minute or two, until you achieve that perfect crispy shell. Remember, patience is a virtue, especially when it comes to frying.
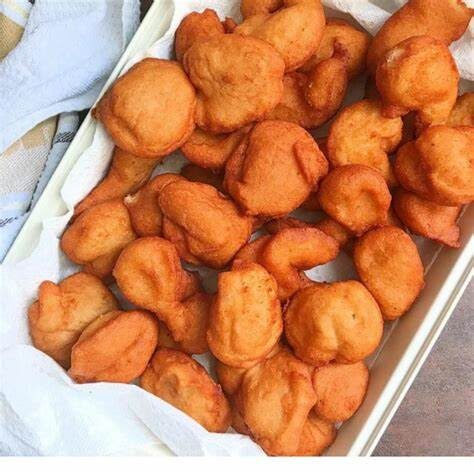
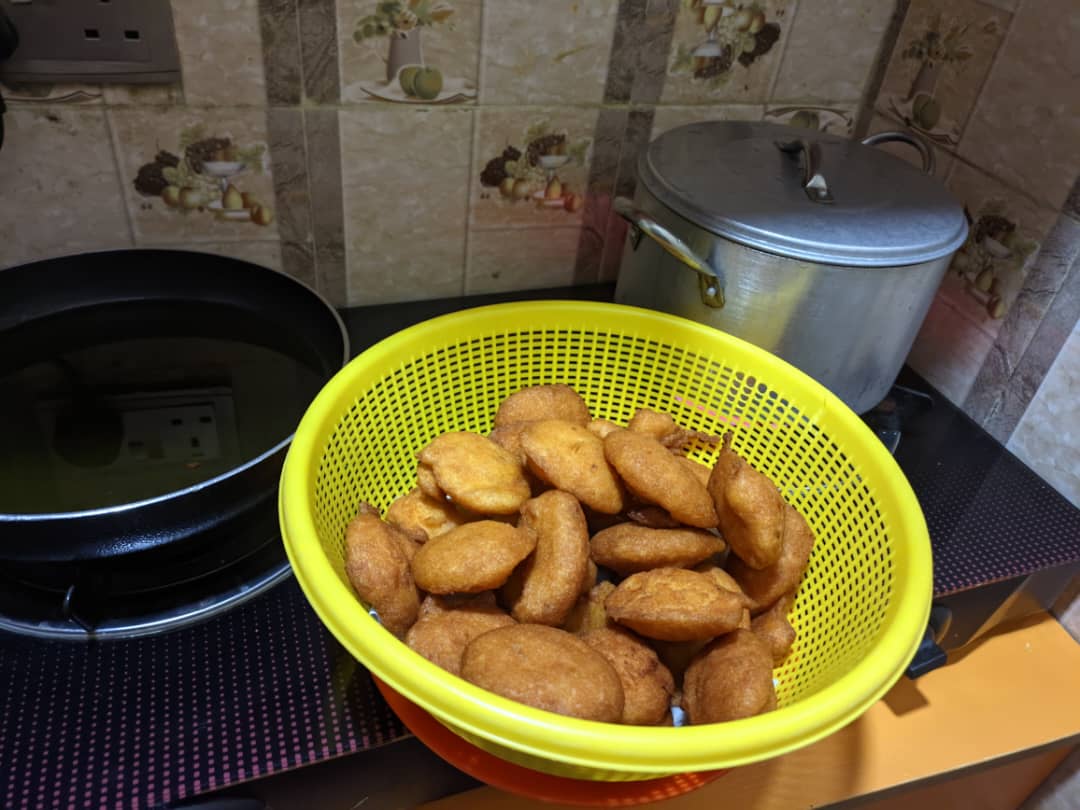
The Grand Finale: Draining to Deliciousness
Once your Akara are glistening with golden perfection, transfer them to a paper towel-lined plate to drain any excess oil. This is your reward for braving the frying frenzy – a symphony of crispy bites, warm and irresistible, begging to be devoured.
Beyond the Basics: Akara Adventures for the Bold
Feeling like a seasoned Akara chef? Time to take it up a notch! Experiment with different seasonings like bouillon cubes or spices like nutmeg or cumin. Get creative with add-ins like chopped shrimp or shredded plantain. You can even shape your Akara into patties or rings for a more playful presentation. Remember, Akara is your canvas; let your culinary creativity run wild!
Nutritional Benefits
Akara, offers several nutritional benefits. It’s a good source of protein, fiber, and essential nutrients like iron and potassium. Additionally, akara is often fried in vegetable oil, providing healthy fats. Consuming it as part of a balanced diet contributes to overall nutritional well-being.
Conclusion
Remember, mastering Akara is a journey, not a destination. Embrace the occasional splatter, celebrate the uneven shapes, and most importantly, savor the joy of creating something delicious with your own hands. So, gather your beans, crank up the music, and get ready to dance your way into the world of Akara-making.
You May Also Like…
- Nutrition And Lifestyle Modifications for Sustainable Weight Management
- A Guide to Making Money Organically On YouTube
- Affordable Jewelry For Women – Cheap Jewelry and Accessories
- Five Ideal Places, Best Ideas For A Romantic Date
Akara FAQ: From Bean Novice to Frying Mastermind
Q: My Akara are falling apart! Help!
A: Make sure your batter is thick enough and hasn’t been over-blended. Don’t overcrowd the pan and resist the urge to flip too early.
Q: I can’t seem to get them crispy.
A: Make sure your oil is hot enough before adding the batter. Don’t overload the pan and let them fry for long enough on each side to achieve that golden crust.
Q: My Akara are too oily! What did I do wrong?
A: Drain them well on paper towels after frying. You can also let them sit for a few minutes before serving to allow the excess oil to drain further.
Q: What can I serve with Akara?
A: The possibilities are endless! Akara pairs beautifully with Garri, fufu, yam porridge, or even as a savory snack on its own. Dip them in sauces like pepper sauce, agbada, or fresh tomato chutney for an extra flavor burst.
Q: I don’t have a blender! Can I still make Akara?
A: Absolutely! Simply peel the soaked beans and mash them well with a mortar and pestle or the back of a spoon. It might take a little more elbow grease, but the reward will be just as delicious.

Wow,so intriguing.
I’ve always wanted the best way to make akara for my siblings. Now,I don’t have to worry about making a tasteless or awfully shaped Bean cakes for them. Thanks for the write-up,it goes a long way.
❤️